
Heather and I made some more tweaks to the design from my earlier post, such as adding tabs to the comb supports to make removing them easier. We also added some gaps to the slots for the combs as the lasercutter’s tolerances are incredibly fine, making parts fit really snugly together. So snug that they’ll slot together quite securely without glue. It looks very cool.
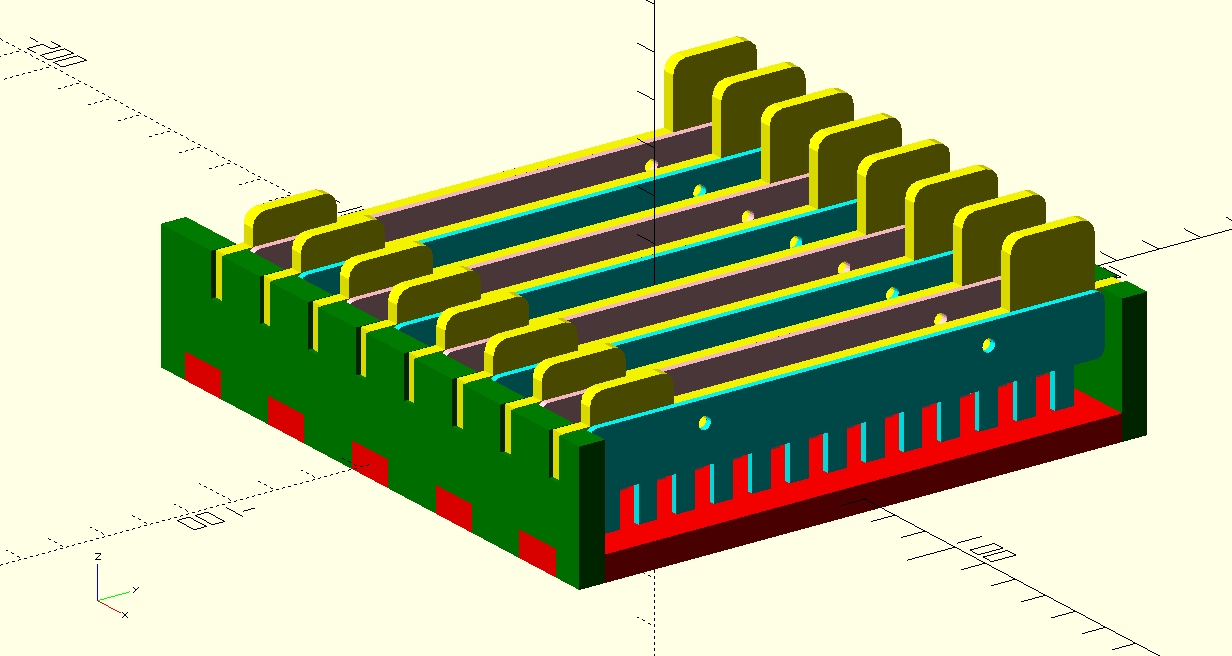
The 1.5mm acrylic that I had ordered from RS came in so we took ourselves off to go and cut it. The tray is 6mm clear acrylic and the comb supports are 3mm black acrylic from an offcut we found under the lasercutter. It looks pretty good assembled. (Yes, we reversed every other comb.) We had a couple of issues with the fit between the tabs and cutouts of the tray base and sides but 5 minutes’ work with a file sorted that out so that Heather could superglue it together.
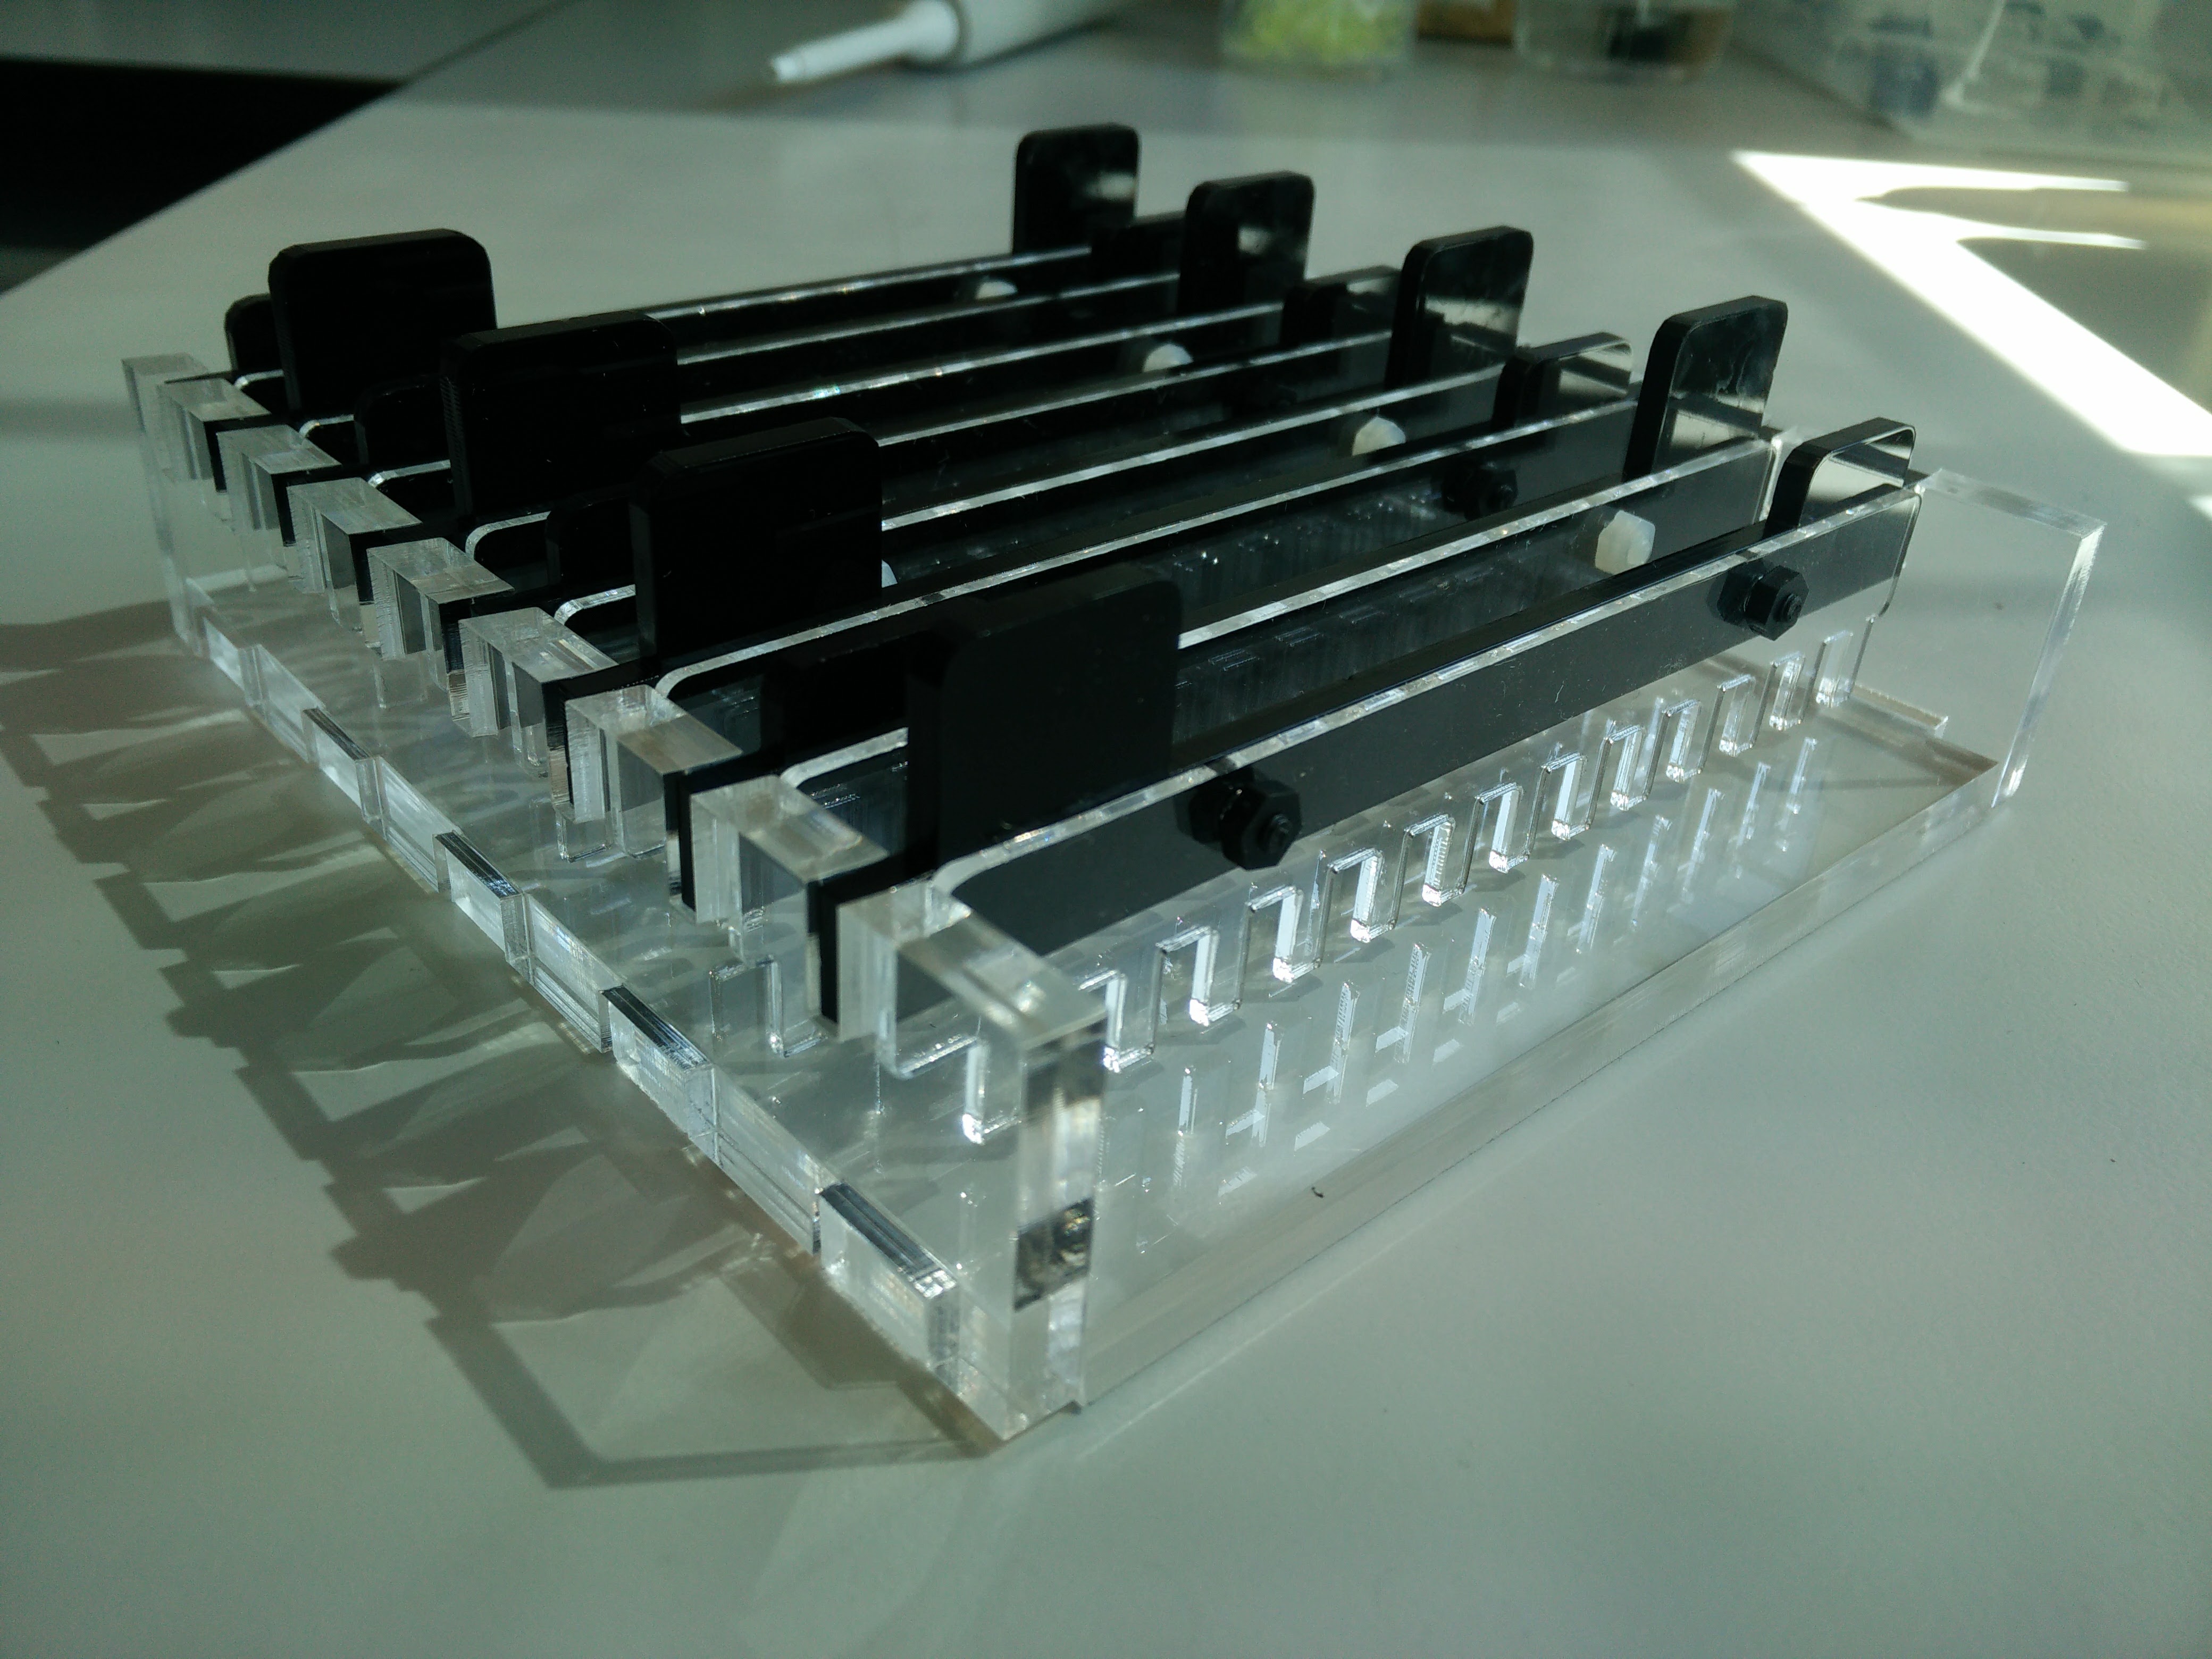
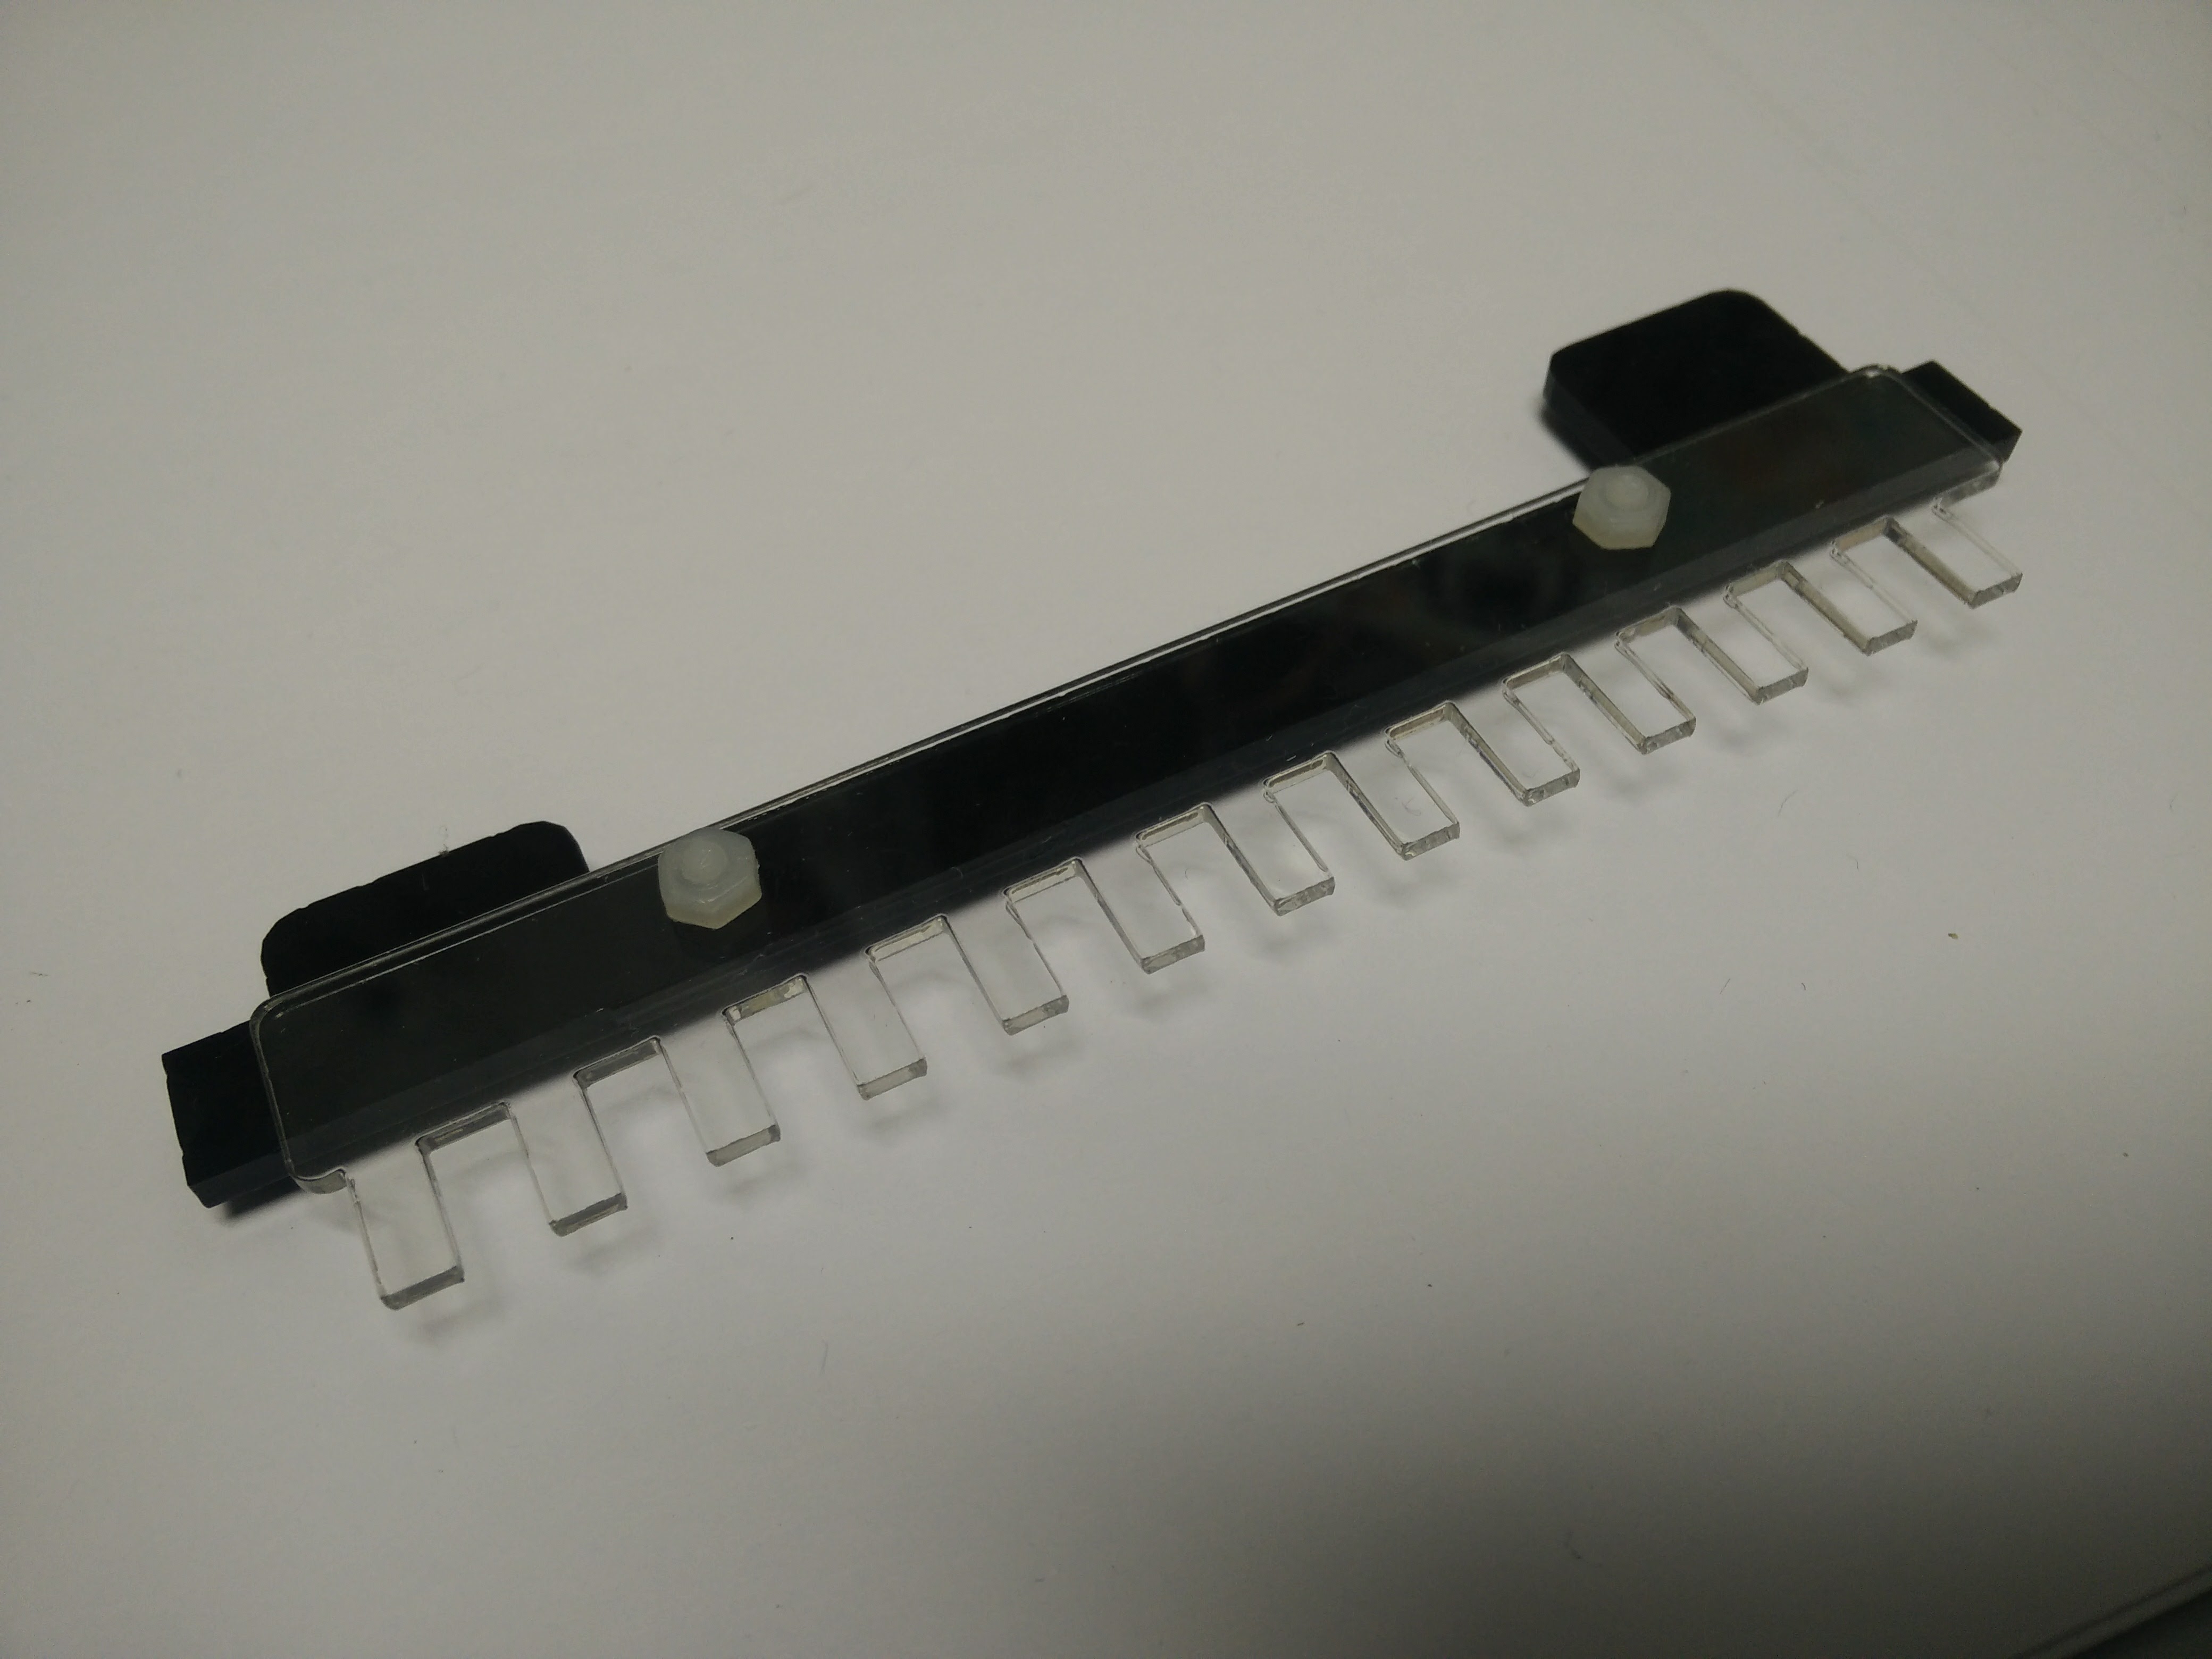
Heather specified the dimensions of the comb teeth so that she could use a 12 channel multipipettor to load amplicons straight from her PCR plates. I’m going to have to ask her to remind me why there’s thirteen teeth…. ? I design things to be fixable so if one of the teeth gets broken you can simply undo the bolts to replace it.
Heather ran some gels on it today and she was very happy, although it turns out the distance between the combs isn’t quite optimal for her samples so in future she’s going to use every other row to give more distance for the bands to separate. Pics to follow tomorrow.
I will post the laser files here when I get a chance too. Or maybe I should upload them to thingiverse??

