
I was asked by my Lab Manager to investigate whether one of our CO2 incubators was working properly. Apparently there’s some doubt as to whether it was maintaining CO2 levels. CO2 is an easy gas to detect for the same reason that it causes global warming: it absorbs infrared radiation. You can now buy cheap Non-Dispersive InfraRed CO2 detectors for about US$40 from websites such as AliExpress. However, CO2 incubators typically enrich CO2 to about 5% by volume while most of the cheap sensors only measure up to around 0.5%, or 5,000 parts per million [ppm]. I found a sensor from Sandbox Electronics that works up to 10% by volume, or 100,000ppm. Perfect for testing CO2 incubators.
The MH-Z16 NDIR CO2 Sensor costs $67.95 and comes with a UART to I2C adapter. This makes powering it and communicating with it quite simple: just connect four wires to the development board of your choice! I used an Arduino Nano to read the values from the sensor and send them to the laptop over the USB connection that was also powering it. The sensor can be calibrated in atmospheric CO2 conditions at the push of a button. I have reservations about this one-point calibration but “you pays yer money…”, as my dad used to say.
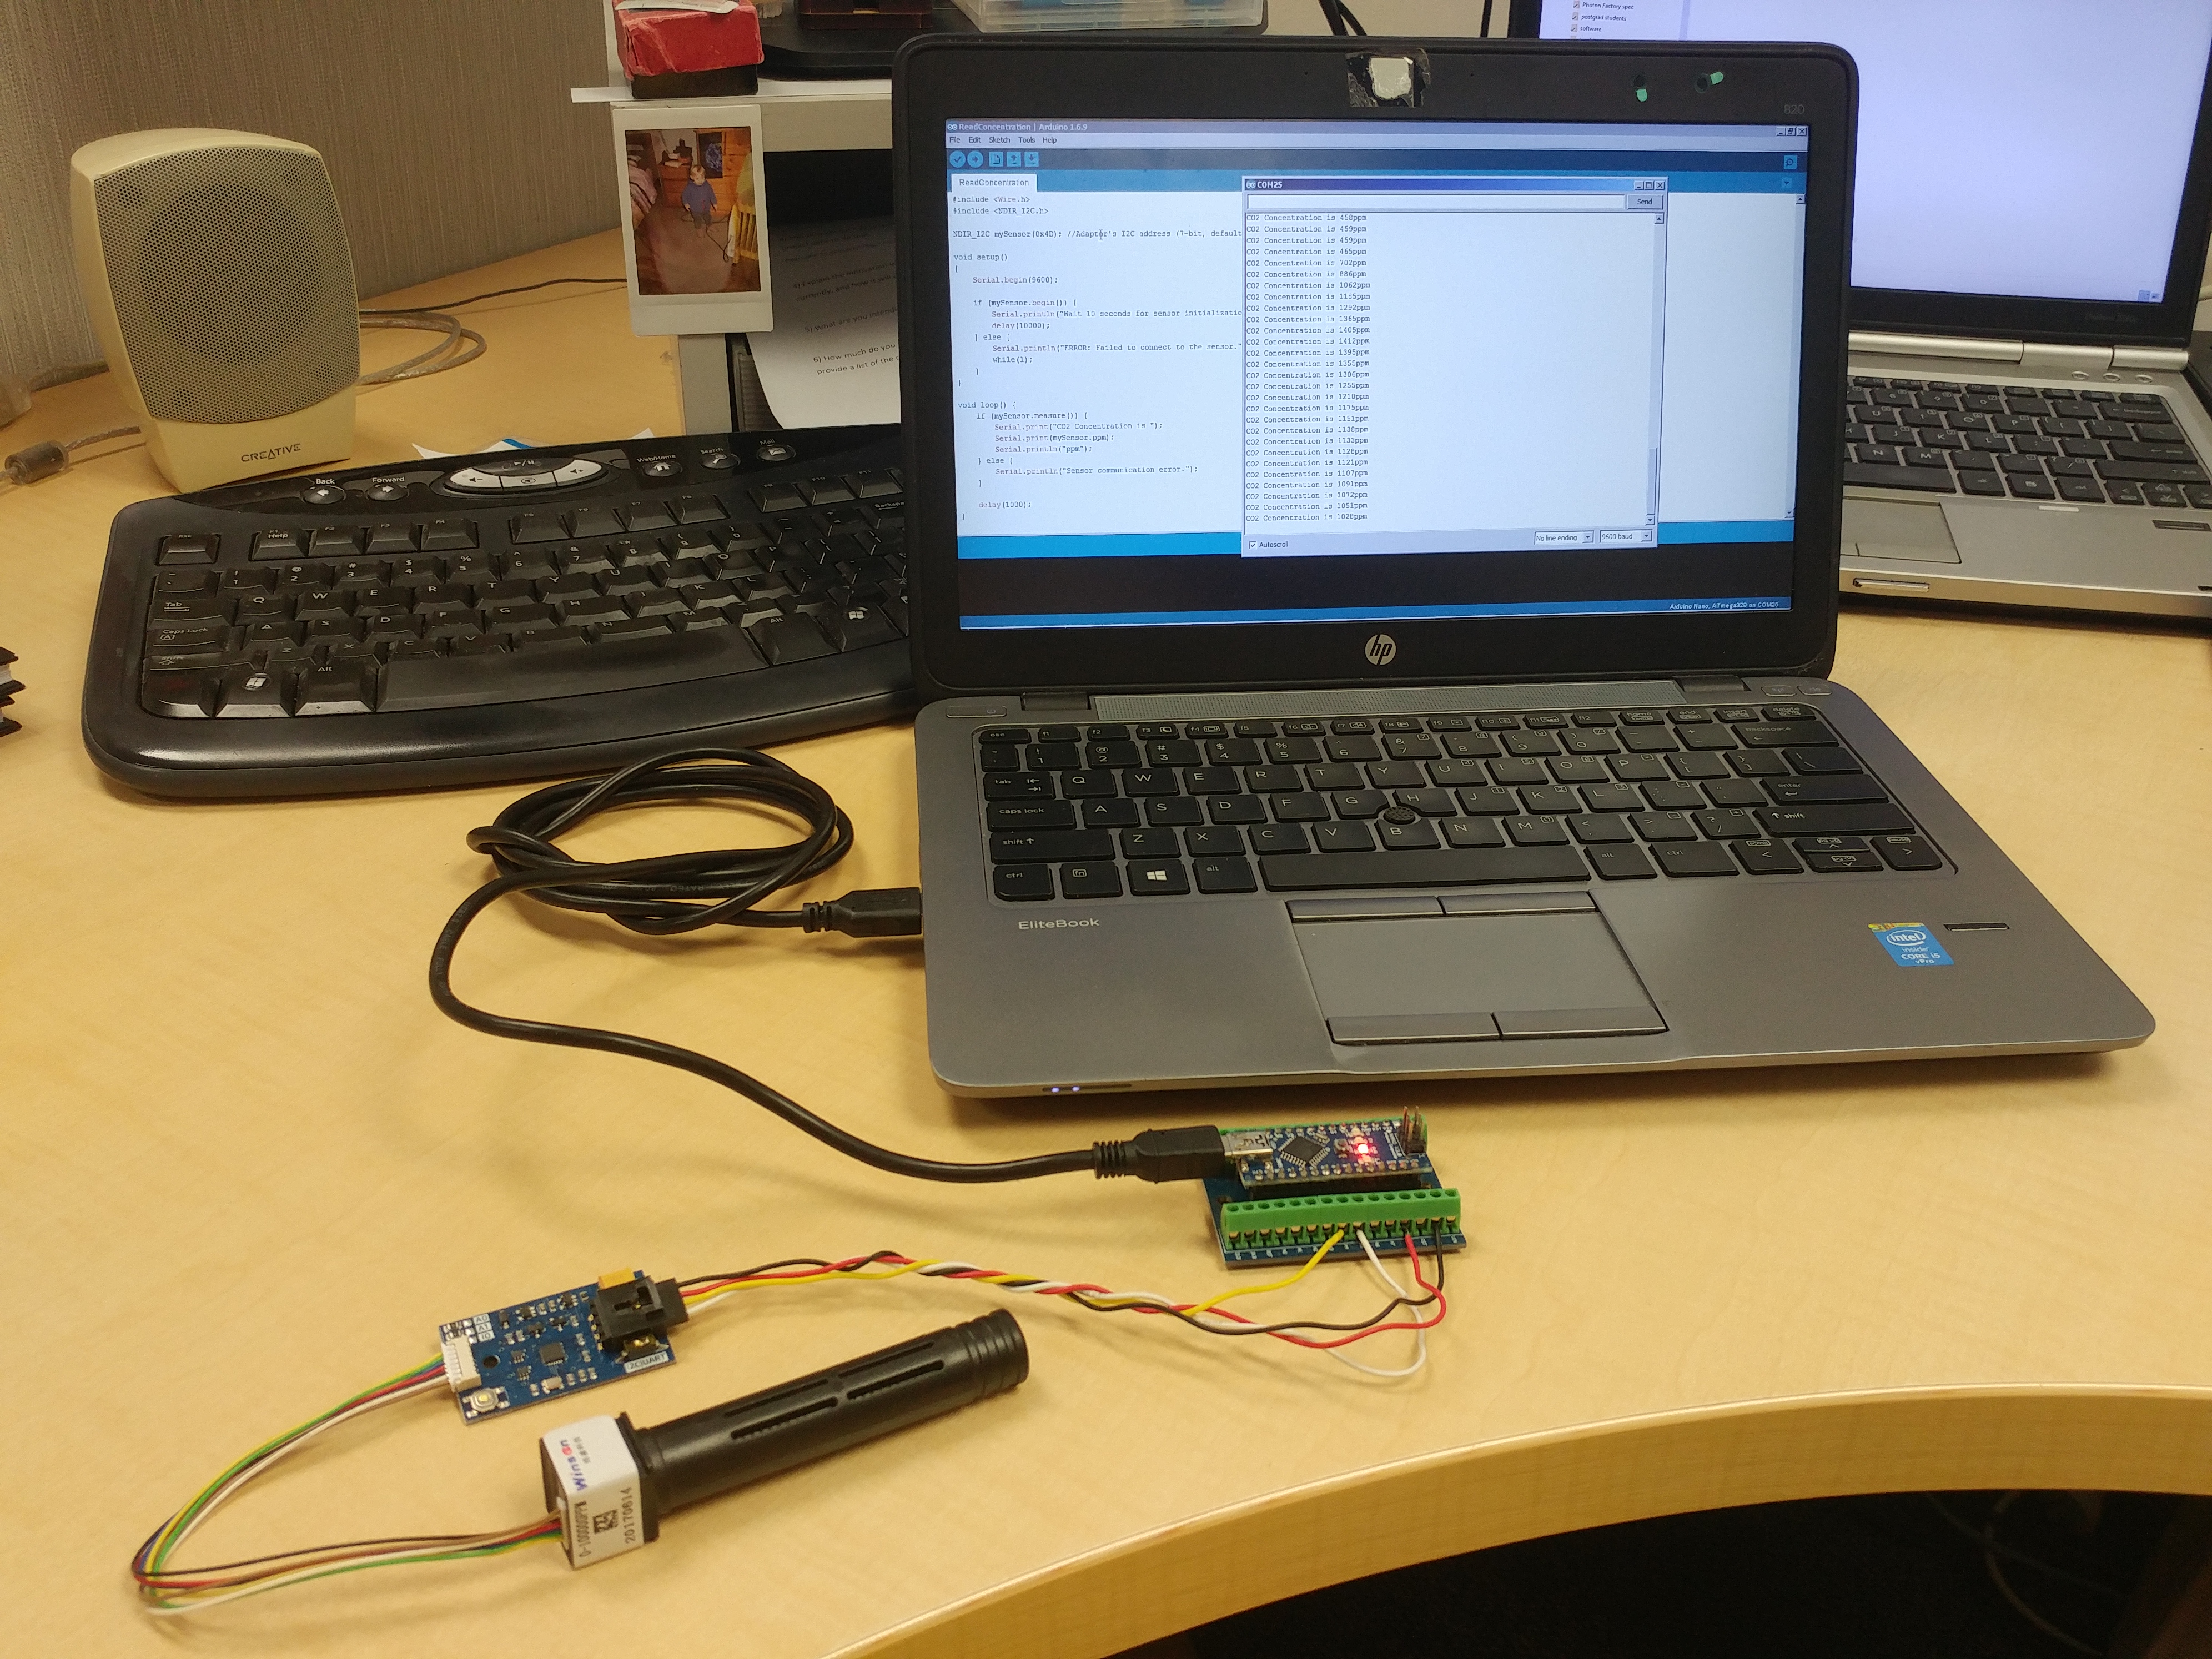
The Nano is sitting on a screw terminal shield with mount holes for easy connections ($4 well spent for making secure, non-permanent connections to the Arduino). On the laptop screen you can see data coming in from the example sketch I copied from the vendor’s website and using the Arduino library they provided. The sketch sends a reading every second. The serial output shows a starting CO2 reading of 458ppm which climbs slowly to >1000ppm when the photo was taken. This is because I was sitting in front of the sensor taking the photos and it’s registering a local CO2 increase as a result of my breath. If I huffed on it it climbed to >10,000ppm, or 1% by volume. The sensor is very slow to adjust to changes. I had to huff on it for a good couple of minutes until it got that high. Wikipedia tells me that exhaled breath is normally 4-5% CO2 so I guess if I’d kept at it for a while it would have got up there. I might have passed out before then though! 😆 When I moved it away from me it took several more minutes to come back down to ambient levels. Not ideal but fine for my application and budget!
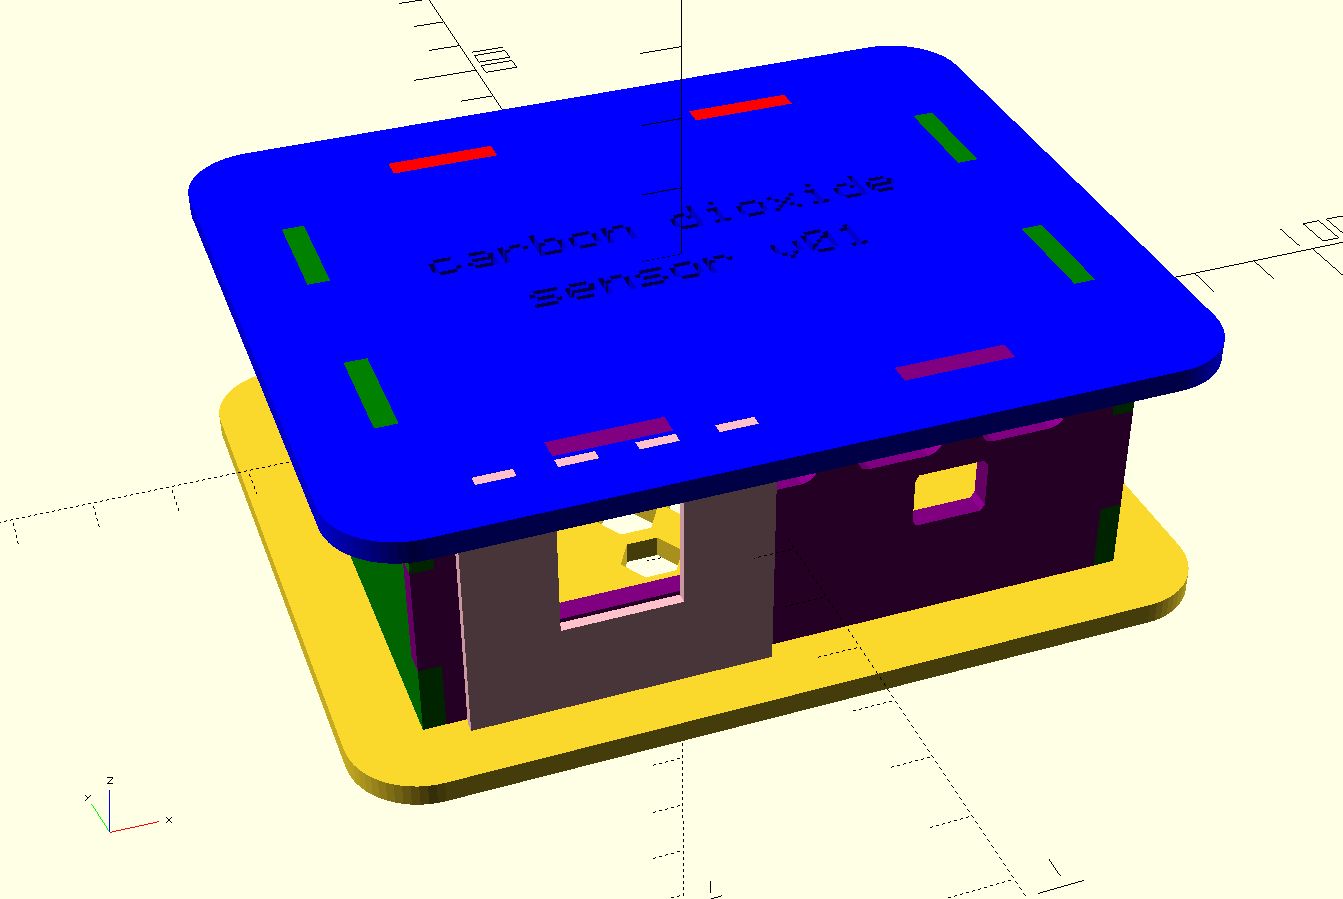
The next task was to make an enclosure to protect the sensor, logic boards and delicate wiring. A couple of evenings spent playing with OpenSCAD yielded an alpha version which I cut on the lasercutter today and tried out. I had to correct a few mistakes in the design but ultimately produced this:
Which became reality as this:
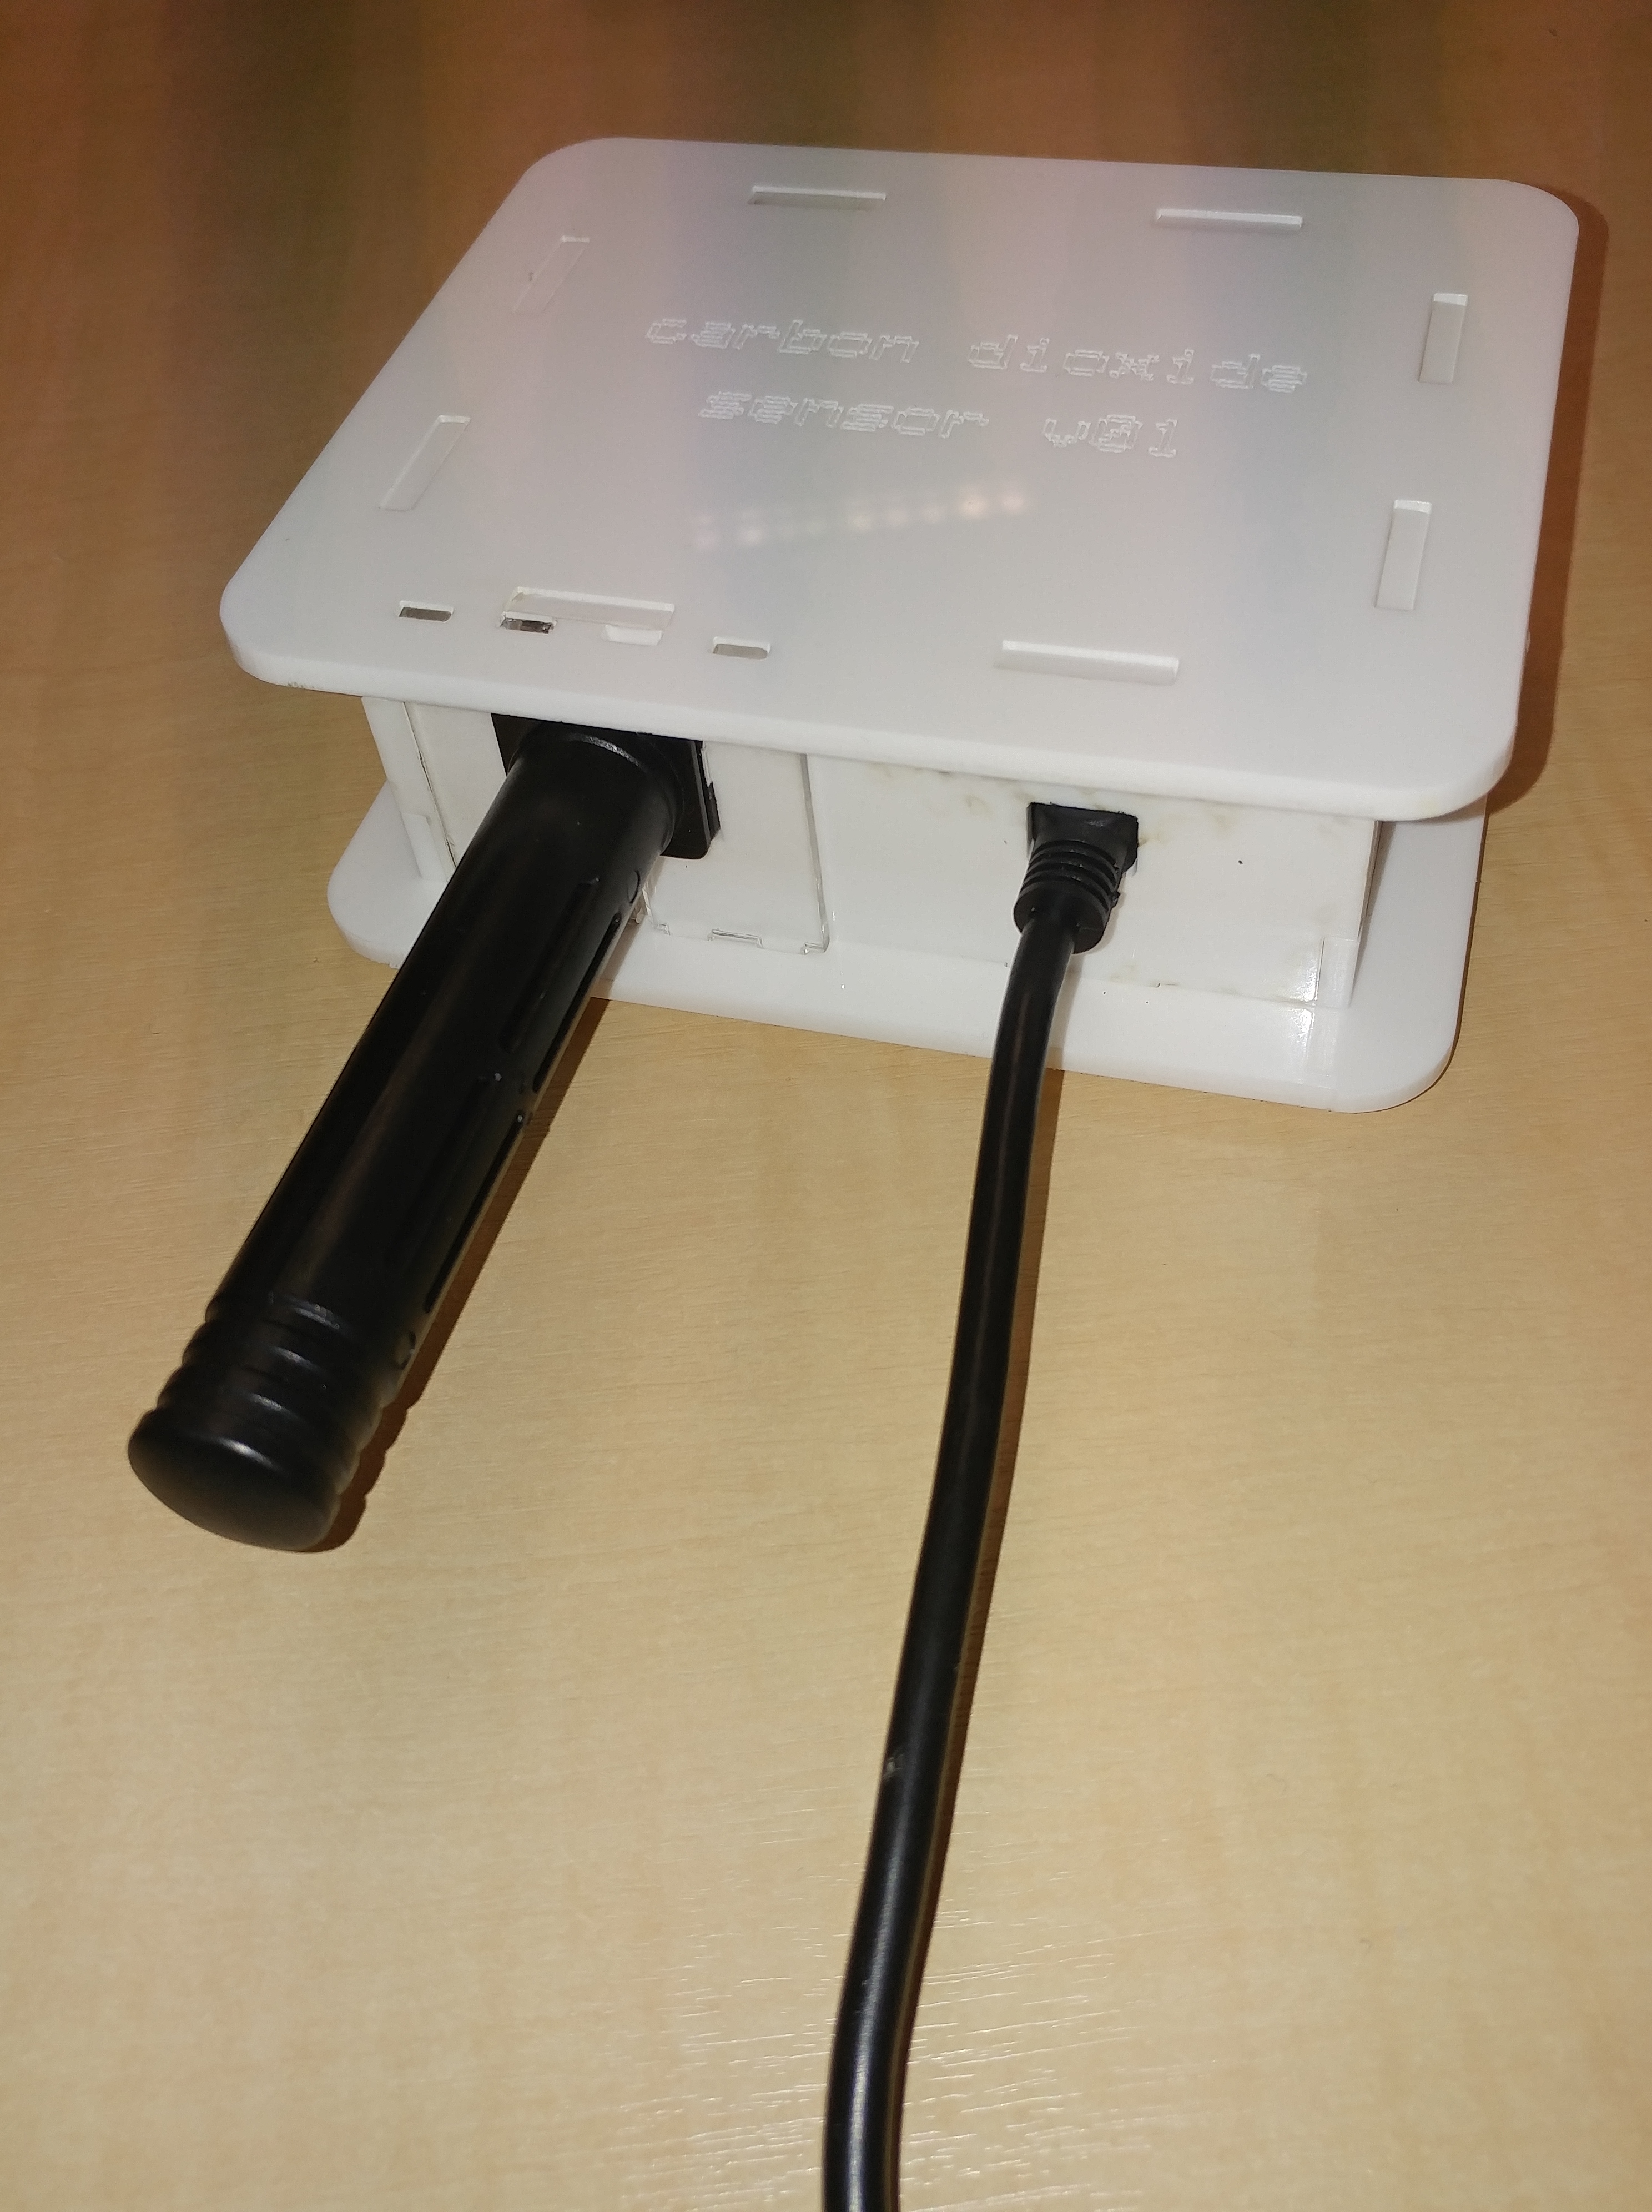
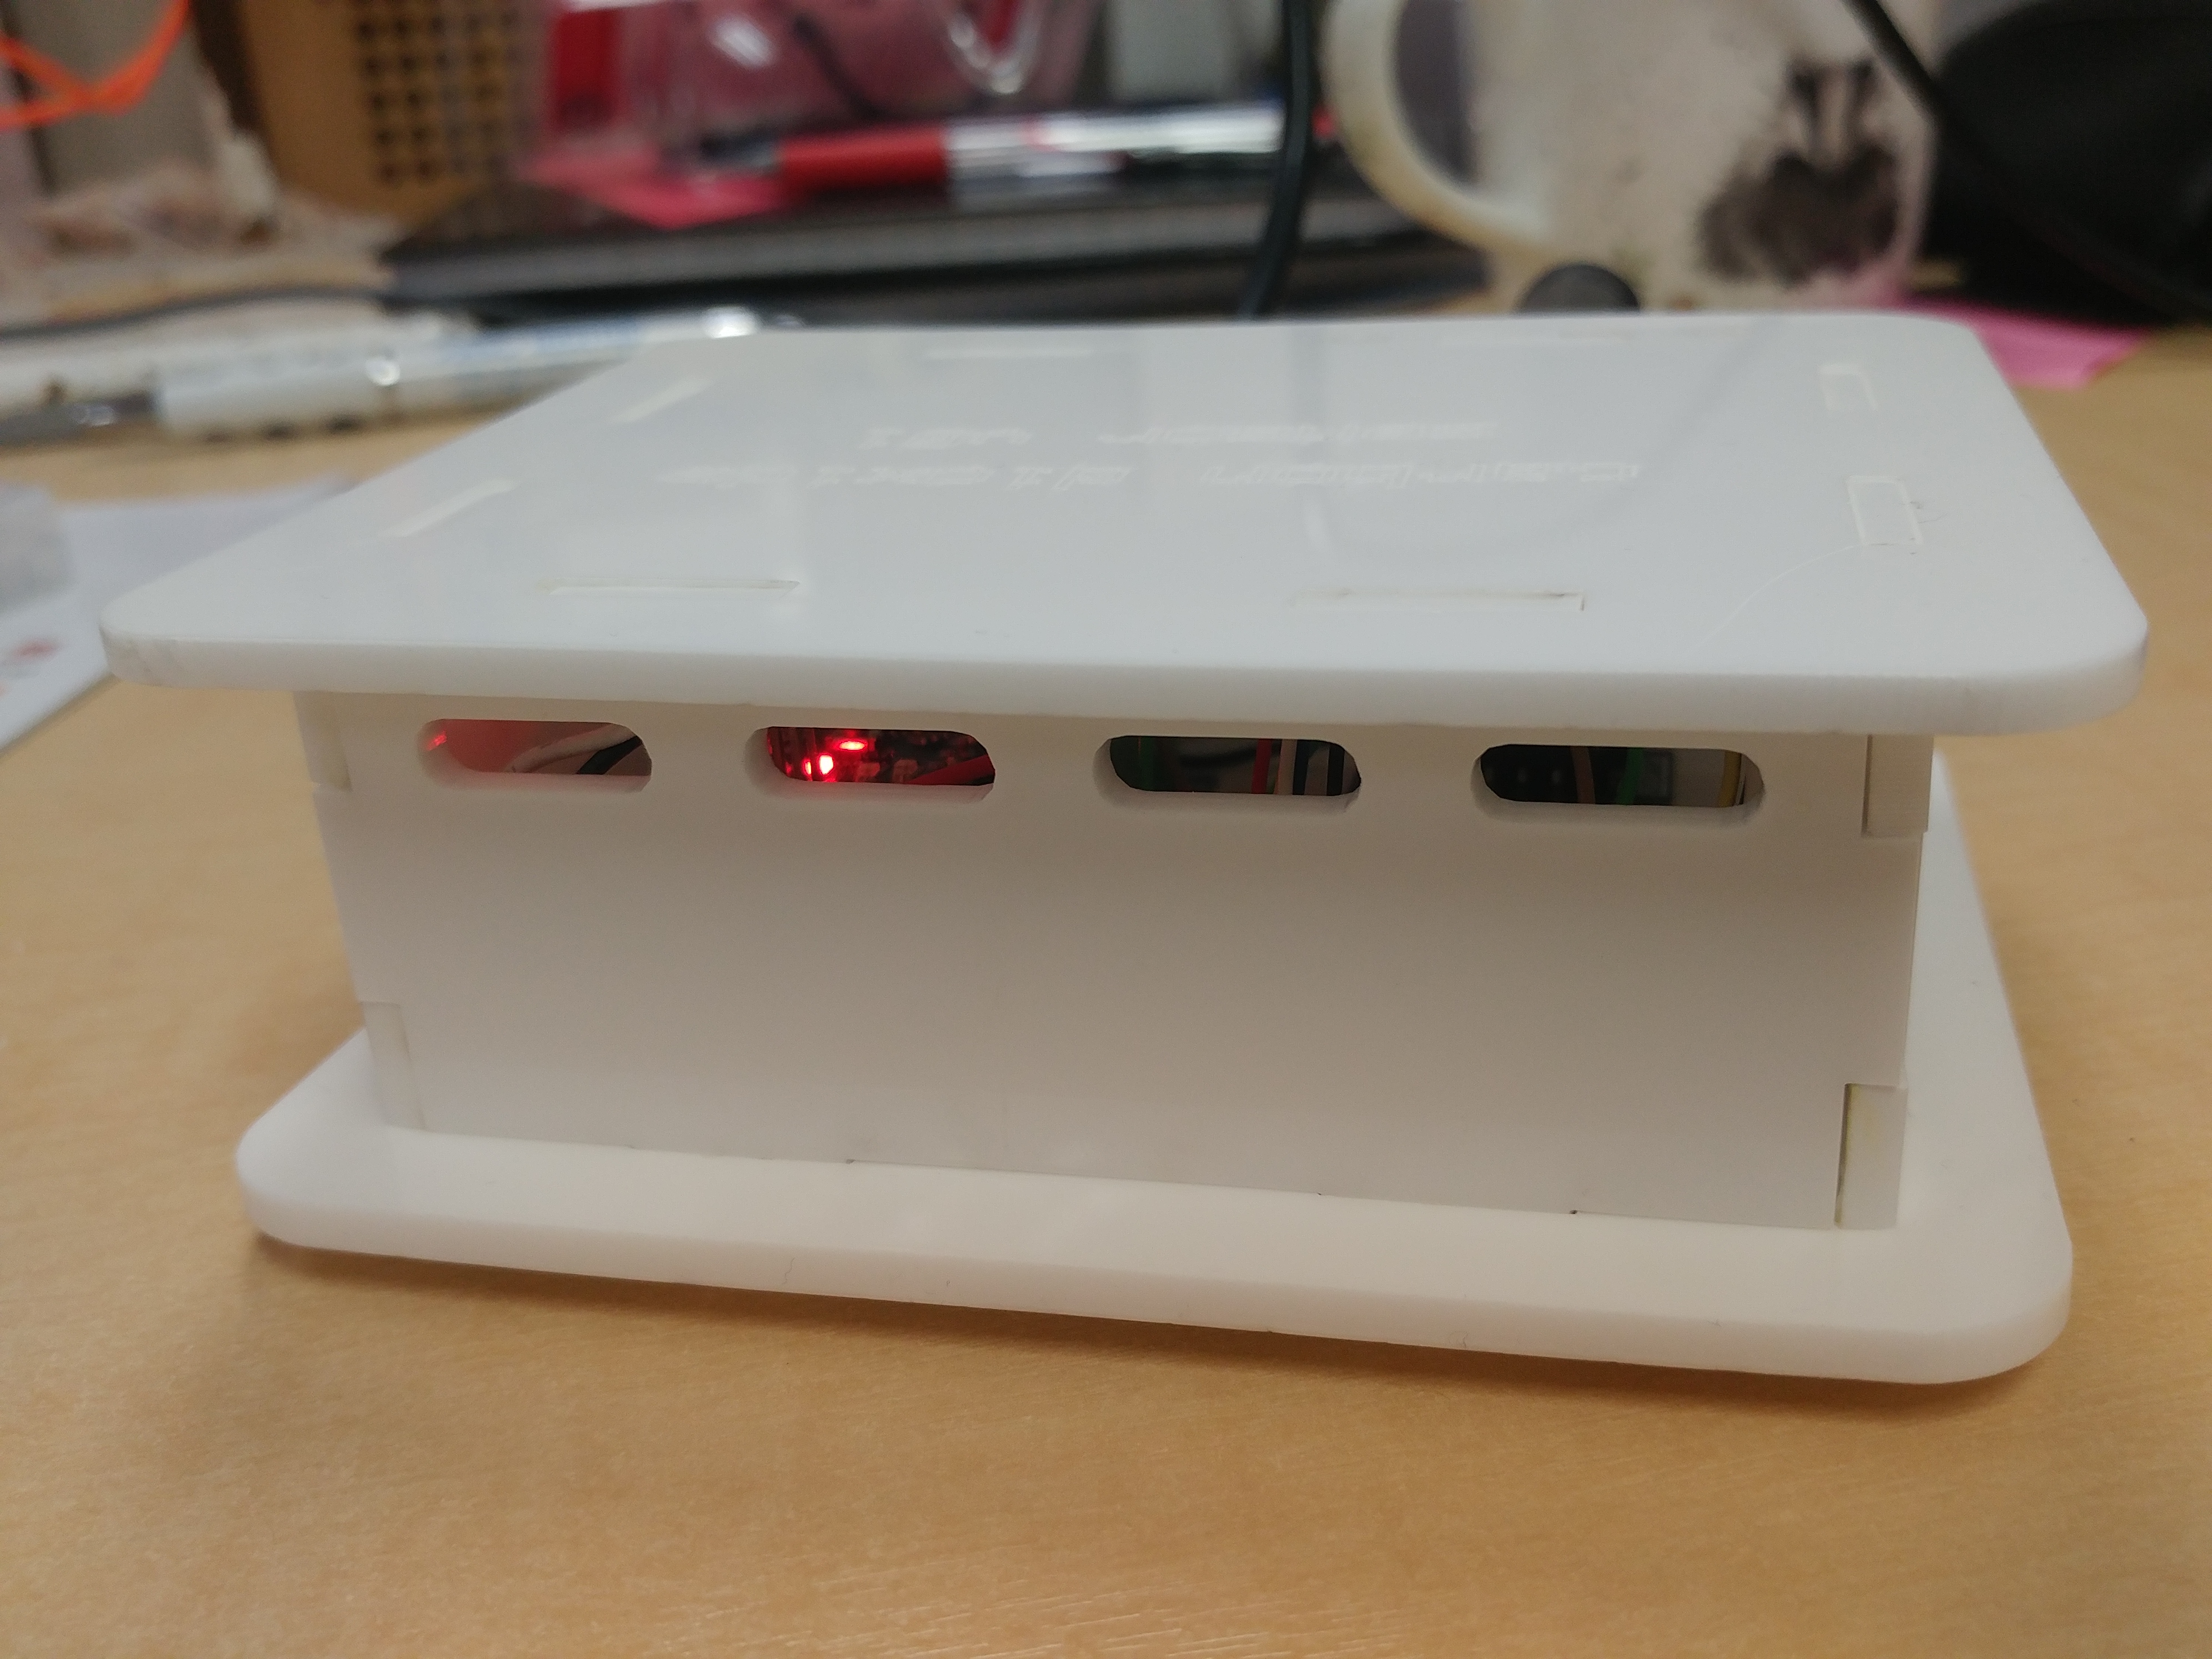
I would have taken a picture of the two boards mounted inside but the lasercut bits fitted together so snugly I didn’t want to try and separate them again in case something broke. You can see the lights of the Arduino inside through the ventilation holes 🙂
I’ve put the sensor in an (allegedly) working CO2 incubator and left it for 20 minutes to stabilise. The sensor read about 40,000ppm, or 4% by volume. As the incubator was meant to be maintaining 5% I’m not too sure what to make of this. I will have to find another incubator to make a replicate measurement. Maybe all of our incubators are a bit off! 😵 However, I’m very pleased with how simple the sensor was to get working and seeing as all you need to run it is a laptop with the Arduino drivers loaded and a serial terminal, such as PuTTY, it is very accessible to even the relatively non-technically minded. 😎
